Year 2 Week 8 & 9 Visual Art Activity
Year Foundation Week 8 & 9 Visual Art Activities
Below is a brief Recording from Mrs Velardi reminding everyone to continue submitting your Spoons to the SGP Spoonville competition. Entries to be drawn in week 10!
Get Creating can’t wait to keep receiving these amazing spooney creations!
Hello and welcome boys and girls! by now you’ve probably heard the exciting news from your S.R.C Representative about the new community project we’re about to embark on. We’re going to be looking at bringing a little joy and happiness in everyone’s lives by introducing this new concept called SPOONVILLE! Spoonville requires everyone to get involved by purchasing and using a wooden spoon and then decorating it as you please to create a character. I have lots of different examples for you below. I also encourage each student to think about and write a word of encouragement to give hope and strength to others during this time, for example, strength, hope, joy, courage on the back of the wooden spoon. Have a look at the examples below enjoy and above all GET CREATING!
Listed below is also a list of rules to keep in mind when participating in Spoonville, as well as the Spoonville home page have a quick read it will give you lots of tis and ideas!
Rules of Spoonville
-
Main Goal
- Have fun being creative!
Creating
- Decorate your spoon as creatively as you can! ( I love sequins, different materials and colour)
- Write a word of inspiration on the back of your spoon
- Enter the competition writing 50 words or less talking about your spoon and what inspired you to create it?
- Email a photo of you and your spoon to tvelardi @sgp.catholic.edu.au with your name and class
COMPETITION TIME!!
For more inspiration, visit the link below hhtps://spoonvilleinternational.com?
spoonville competition.
We have a fabulous competition that we are about to launch! I would like you to write a paragraph about 50 words or more explaining how you created your awesome spoon creation. Talk Some things you might want to write or include in your paragraph might be, what inspired you to use the materials you used? What you enjoyed about the project? How you think your spoon might bring happiness or a smile to someone’s face?
1st prize: $50.00 Zart Art Voucher
2nd Prize: $30.00 Zart Art Voucher
3rd Prize $20.00 Zart Art Voucher
WINNERS will be announced the last week of term (Week 10)!
Stay tuned for UPDATES!!!!
I will be displaying students pieces on my BLOG
I’m really excited about this activity and i’m sure you are too!
Please remember to make your spoon creation and upload and share it with me!
Click the link below to view how to make a character wooden spoon
http://www.viewpure.com/I_odh1NzWH4?start=0&end=0
Mrs Velardi’s Introduction to Spoonville
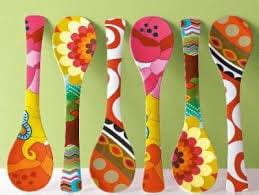
Some materials you might want to create for your spoon creation
The beginnings of the year Prep one and two spoon creations
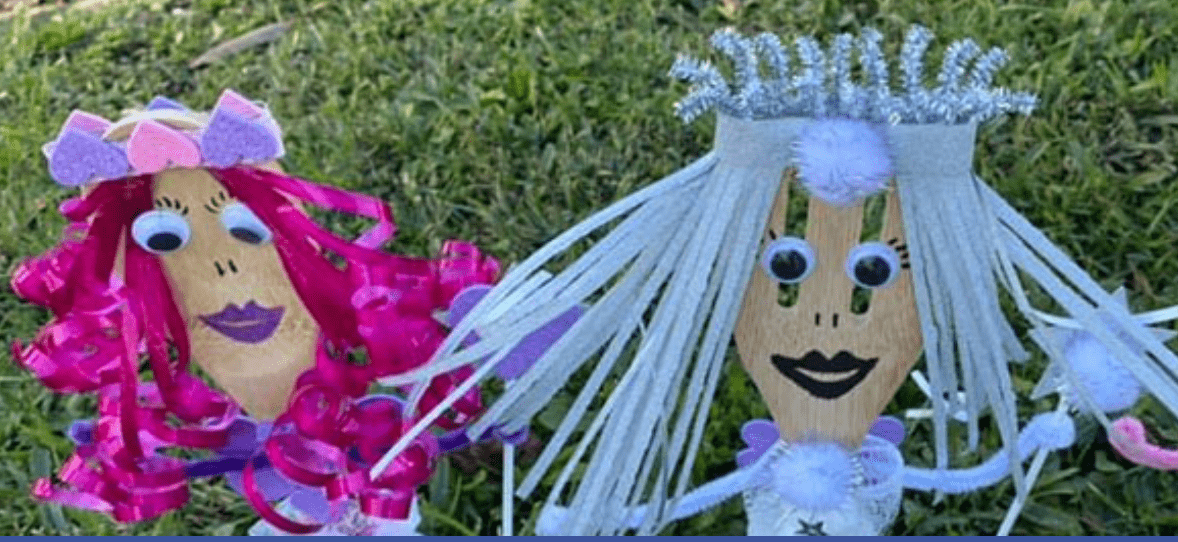
The final product of the Prep one and two spoon creations
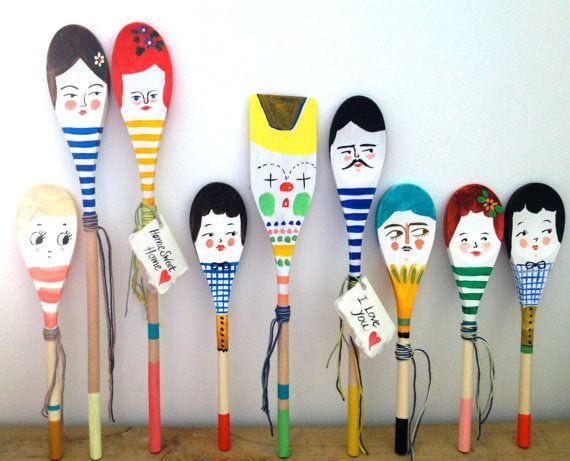
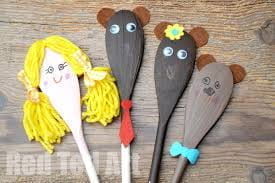
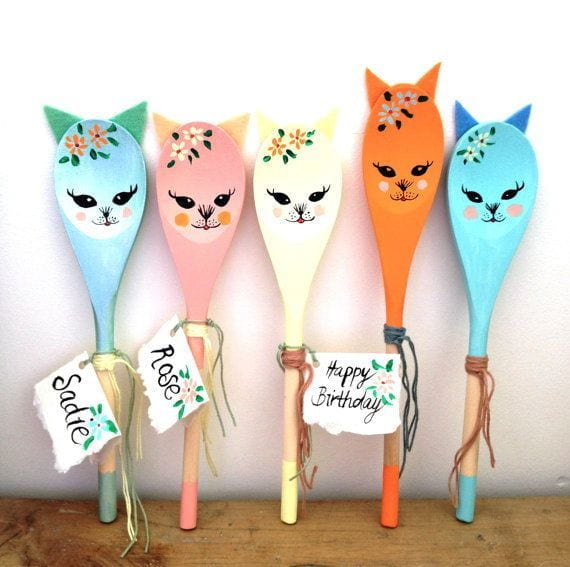
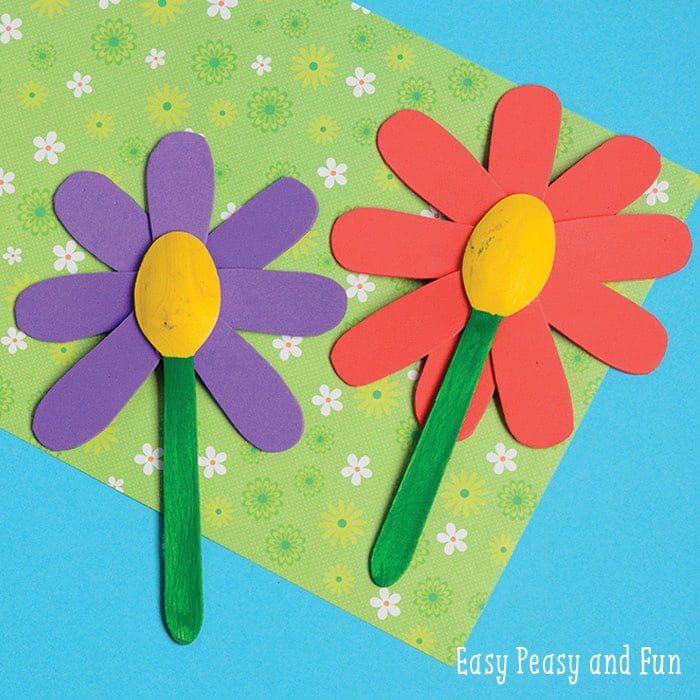
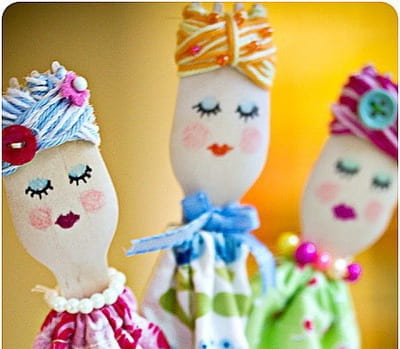
Here are some examples of how you might like to create your very own spoon art!
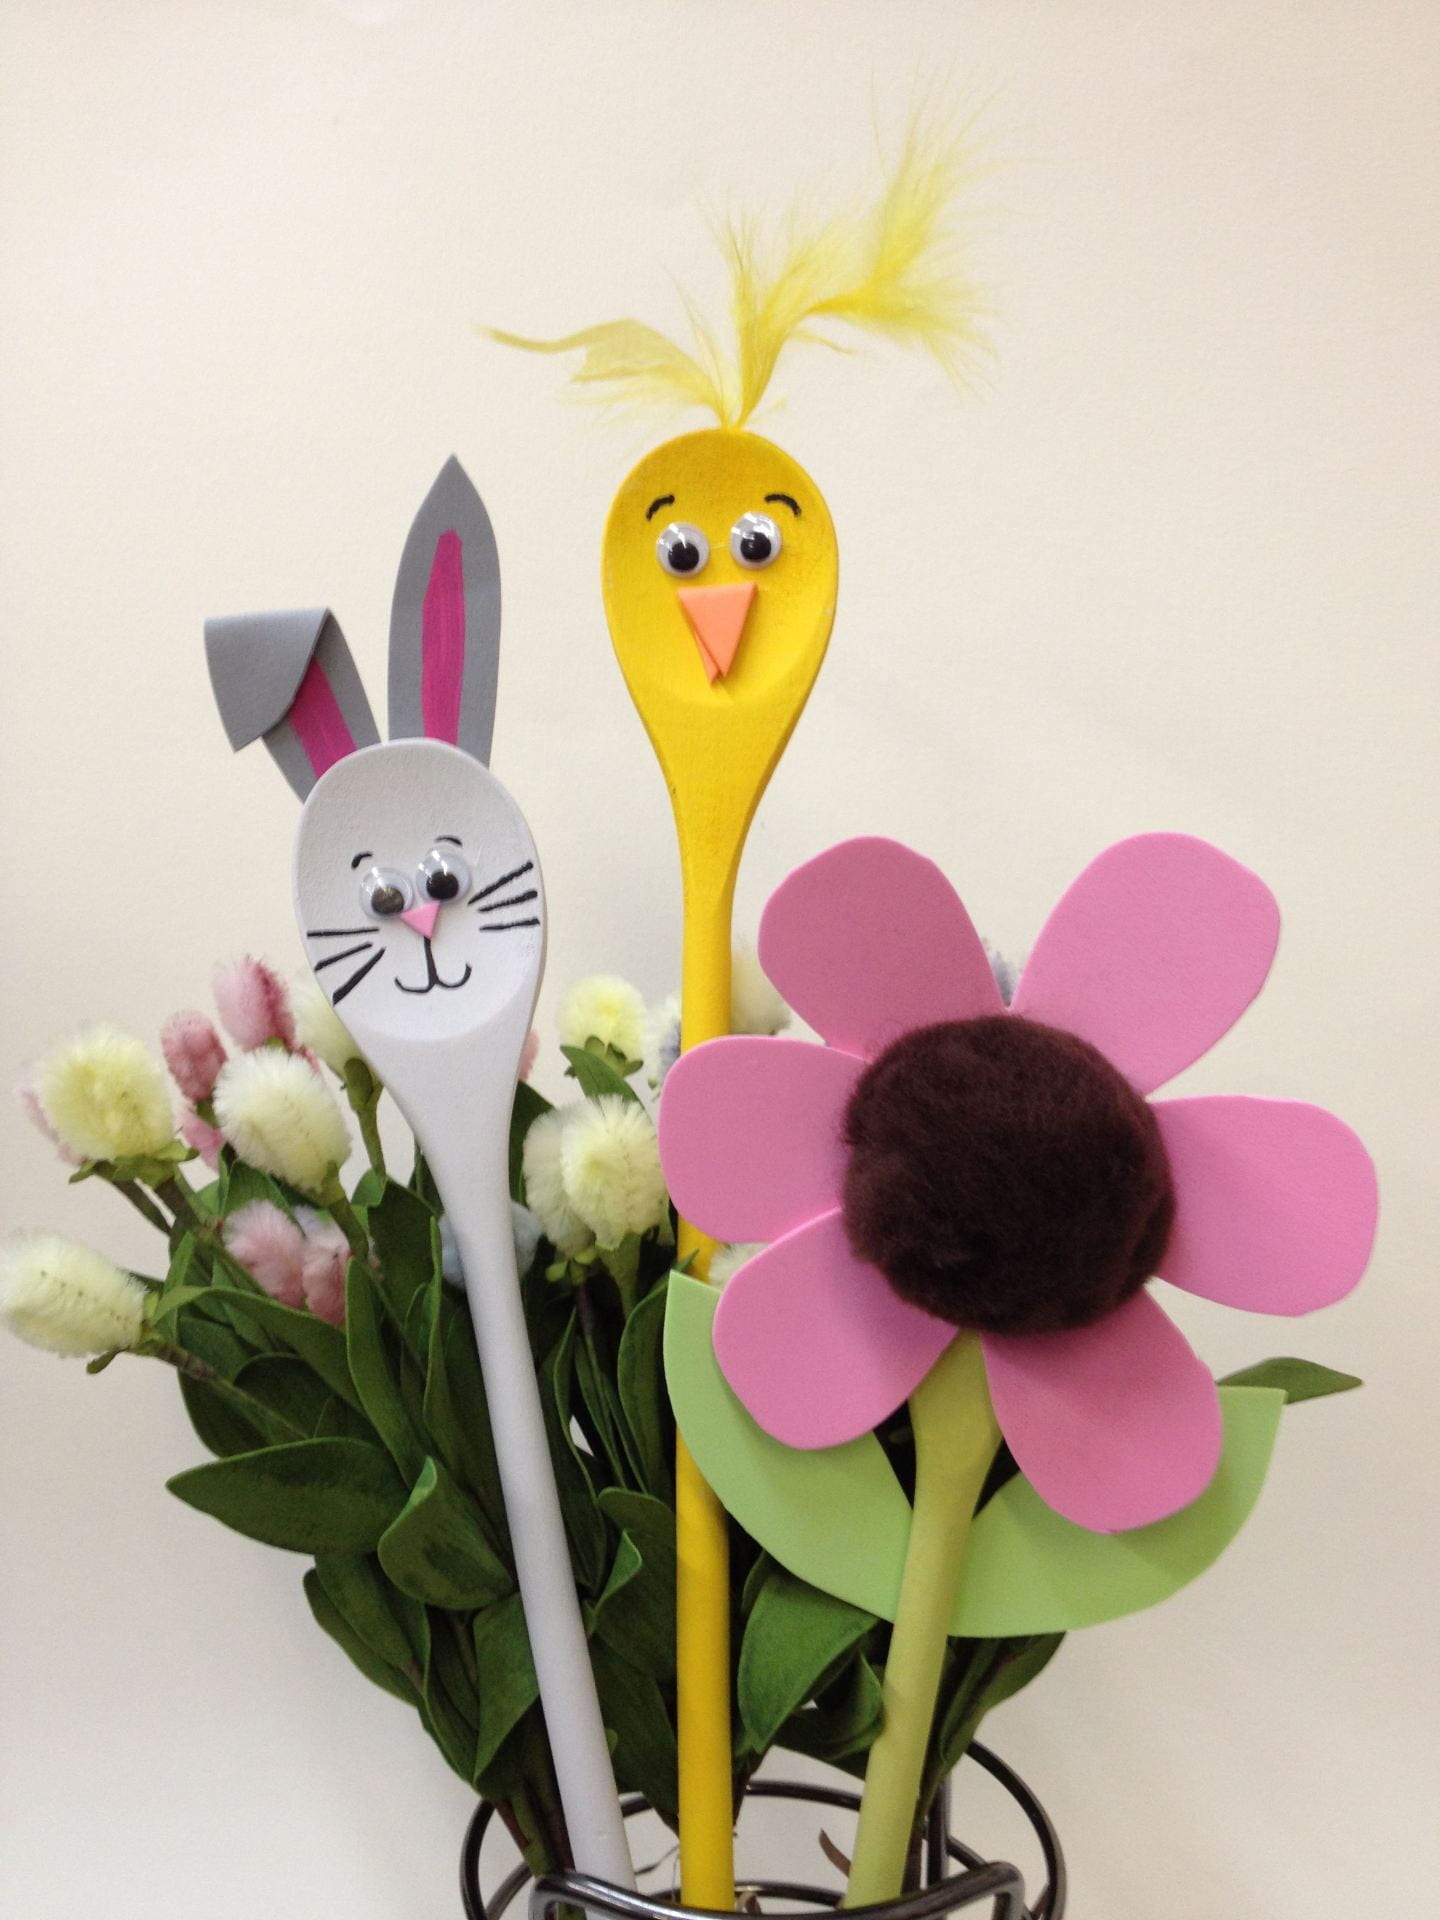
HAVE LOTS OF FUN!
GET CREATING AND REMEMBER TO SHARE!
CANT WAIT TO SEE THESE AMAZING SPOONEY PEOPLE!
Week 8 Father’s Day Video
This weekend is Father’s Day so we thought we’d create something really special and memorable to commemorate the fathers, grandfathers and special person in our lives.
Students were involved in making a trophy for the special man in their lives. The clip below shows children involved in putting together their trophy creations. Please have a look, and if you like, you can create one similar for your dad.
The equipment needed for the task are; two plastic or foam cups, masking tape to tape up both the cups together. Lots of decorative pieces to decorate your trophy.
Optional Visual Art Activity Week 9
Techniques on how to blend colours using oil pastels
Step By Step Instructions (fire stencil picture blending oil pastels)
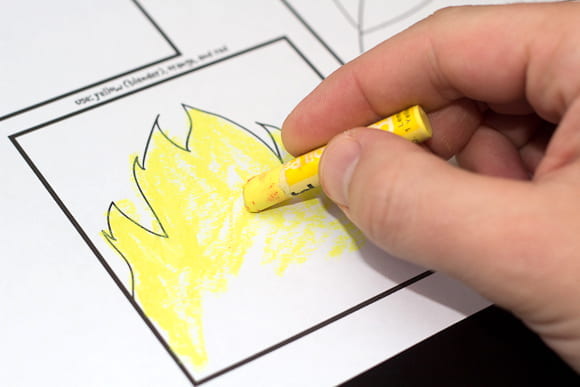
Before you commence the activity, be sure to copy and print out a copy of a fire/flames picture as shown in the pictures below
1. Use the yellow oil pastel to first color the fire edges.
2.. Then use orange to create the same fire shape, but lower than the yellow edge.
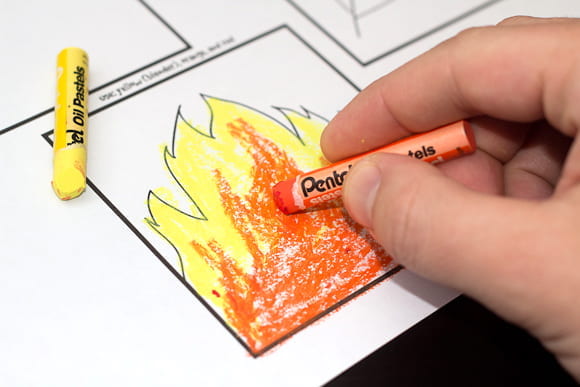
3.Next do the same with the red oil pastel. Draw the same fire shape but lower than the orange edges.
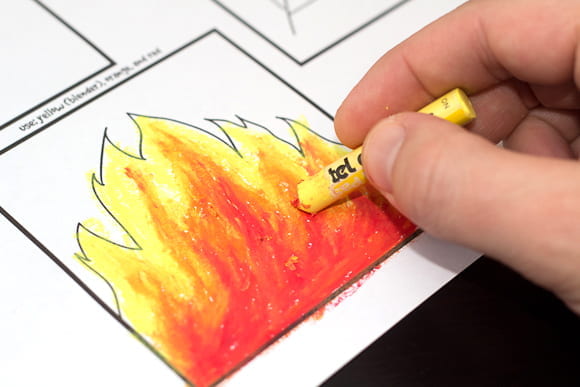
4. Then with the yellow oil pastel, go back over all the colors. This will smooth out the texture and blend all the colors together.
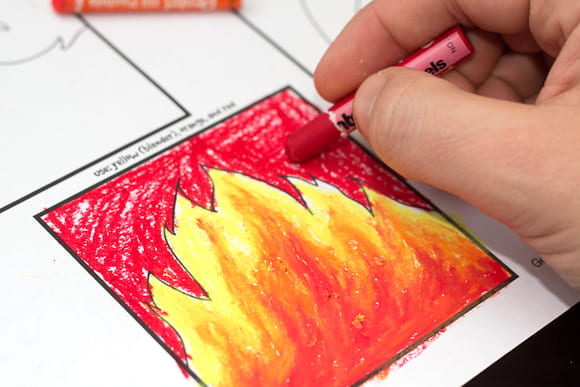
5. To do the background we switched the rule, and used the darker color (red) first. That’s fine, it’ll just give you a different (darker) result. Use the red oil pastel to quickly color in the background.
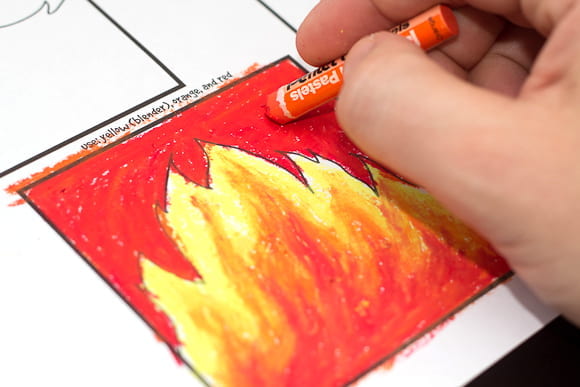
6.Then use orange (or yellow) to smooth and blend the red.
7. That’s it! Now experiment with it by trying different colors and see how it turns out.
Below is a link showing techniques of how to blend colours using oil pastels
http://www.viewpure.com/AxsSD3mGDHk?start=0&end=0
I hope you enjoy this activity!
Please remember to upload and share!
email:tvelardi@stgeorgepreca.catholic.edu.au
GET CREATING!
Mrs Velardi