Year 3 and 4 Visual Art activities Week 7.
Learning Intention: For students to cut, colour, stick, paint, create and follow instructions on how to make a 3D Frilled neck lizard out of paper
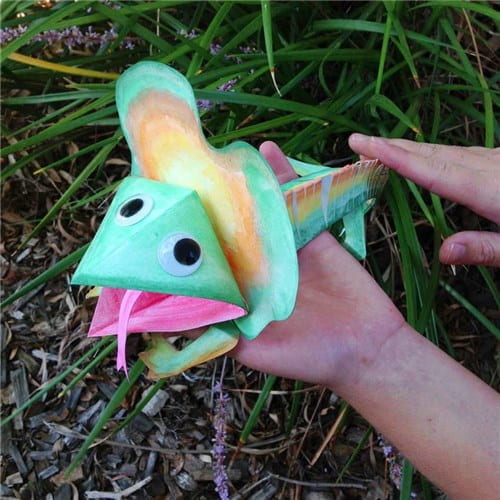
How to make a 3D Frilled Neck Lizard
For this weeks activity we will combining both Year 3 and 4 Inquiry topics. Year 3 are currently looking at Environment, animals and their habitats. Year 4 are focussing on The First Fleet and Aboriginal studies. I thought we would take 2 aspects from the Inquiry topic and look at a specific Australian reptile found in northern Australia, as well as using Aboriginal art to decorate this piece.
Materials:
A3 paper
thick cardboard
watercolor paint
double sided tape
pencils
markers
normal paint
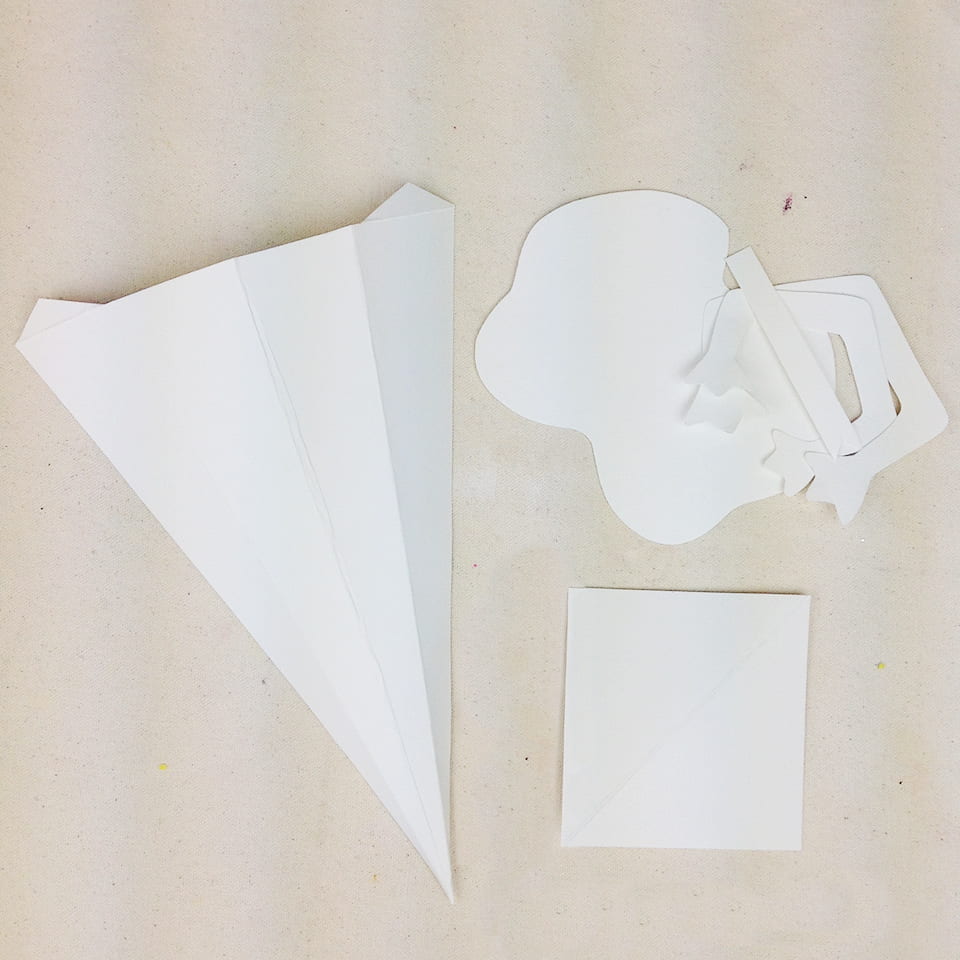
STEP 1
Print out a template of a lizard either the one shown here or a lizard template of your own on A3 paper and cut it out. Fold a triangle along the dotted lines. Use a template as a guide and trace it onto cardboard so you can use watercolours to decorate the lizard. Then follow these steps. Adult supervision is recommended when using scissors.
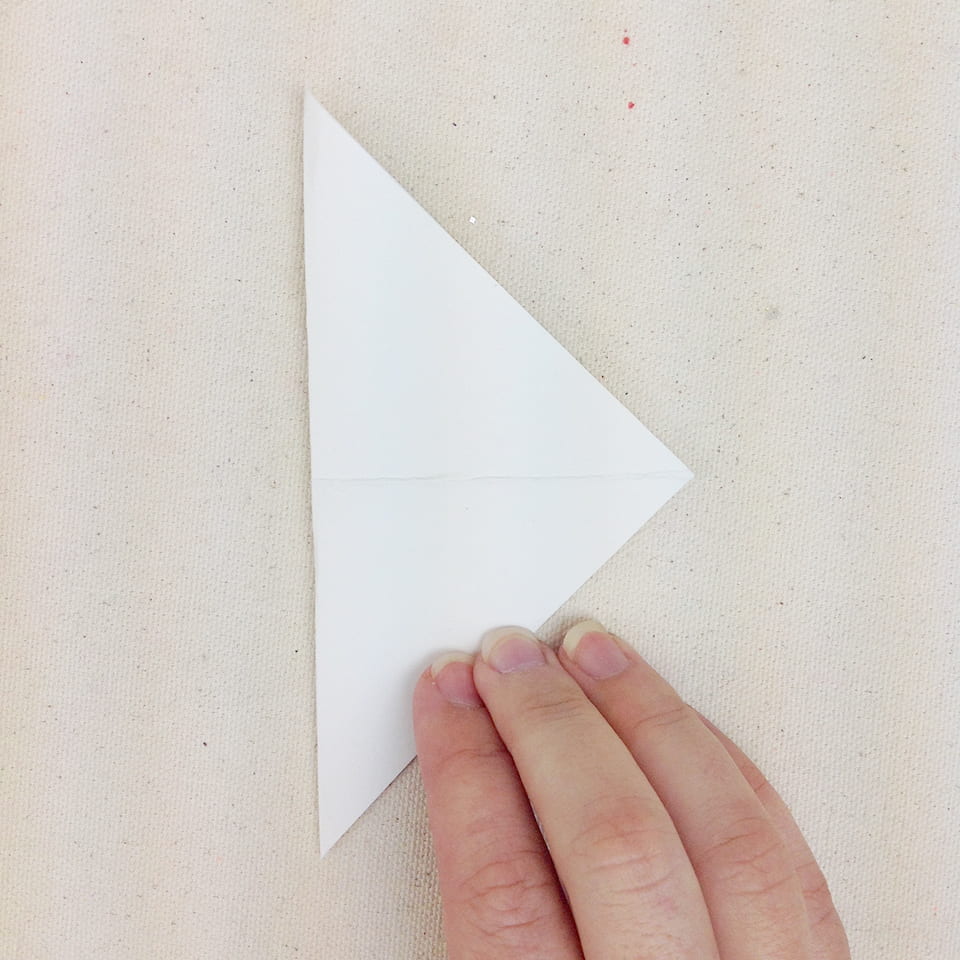
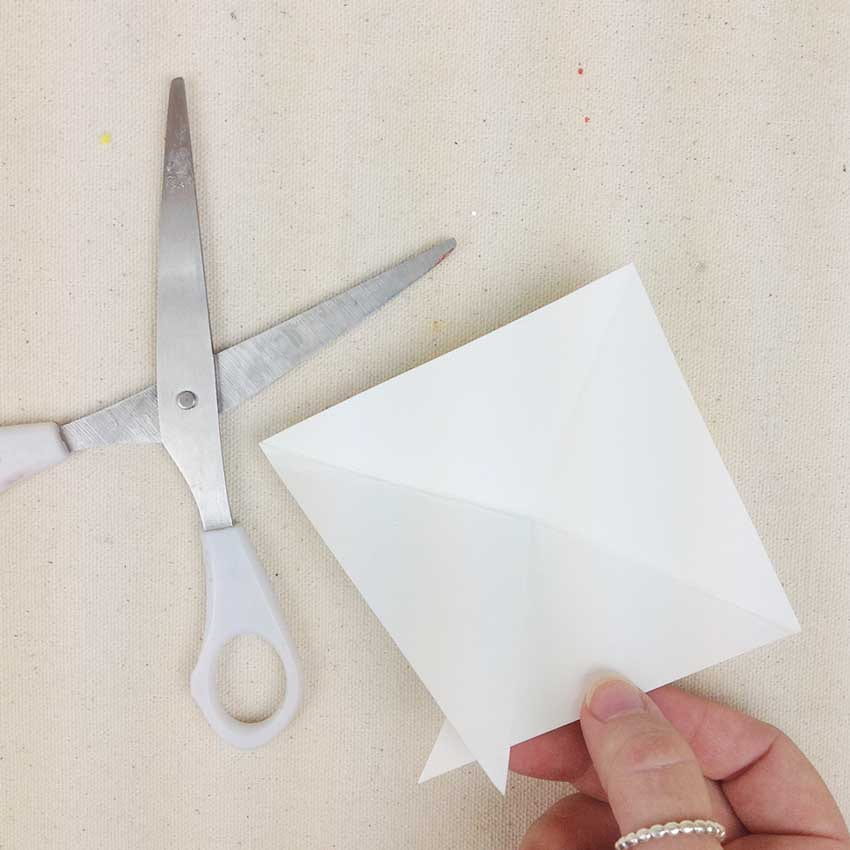
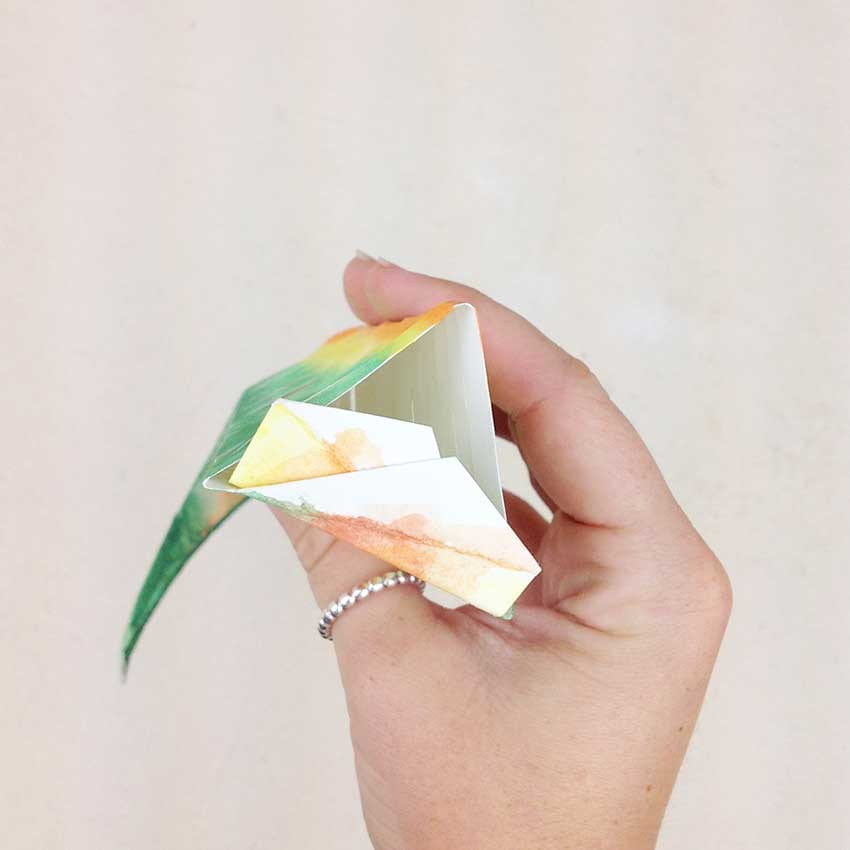
STEP 2
Fold one of the squares in half to form a triangle. Open out and fold in the opposite direction.
STEP 3
Cut along one of the lines only to the centre, then fold the pieces inwards.
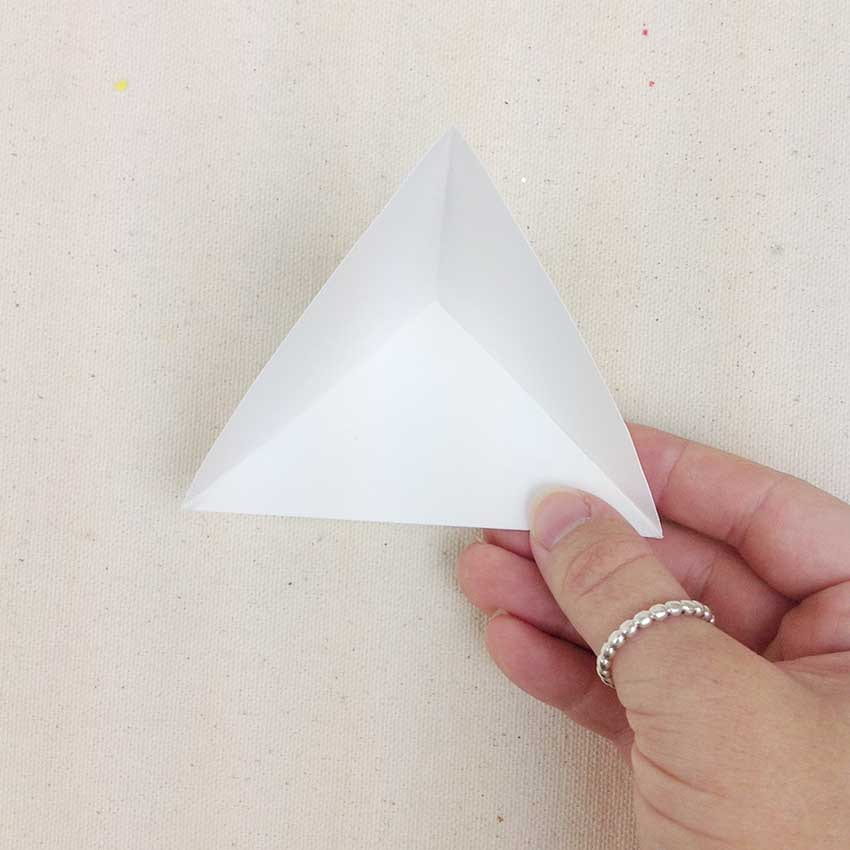
STEP 4
Use double sided tape to attach the two sides together. Repeat steps 2, 3 & 4 for the second square piece.
STEP 5
Decorate each piece of your template, you could use pencils, markers or paint! If using paint, allow to dry.
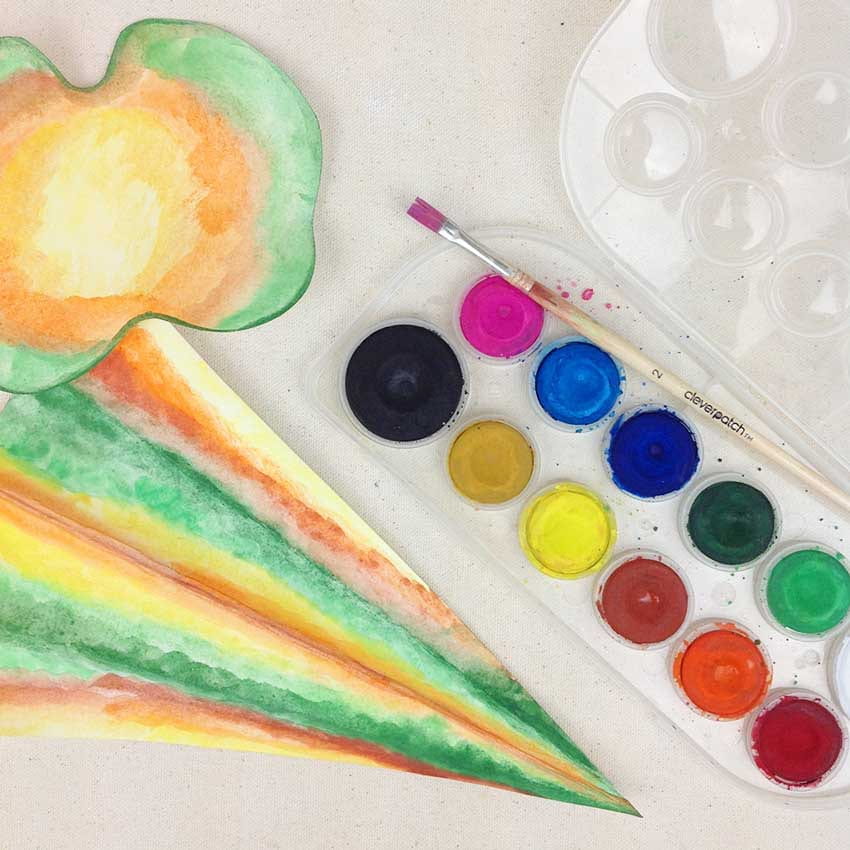
STEP 6
Take the triangle shaped piece and fold in half following the dotted line. Then use scissors and cut strips (5mm in width) down the centre, up to the next fold line.
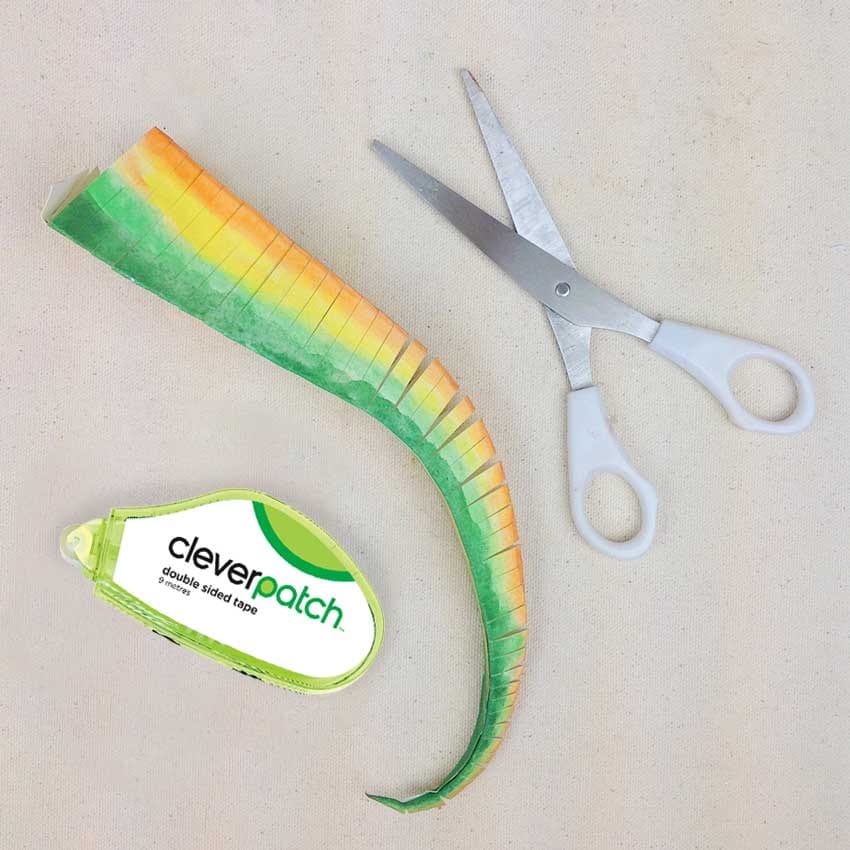
STEP 7
Use double sided tape to attach the uncut sides together. This should now look like the body of your lizard.
STEP 8
Fold the end tabs upwards and do not remove. This is how you will attach your lizards head!
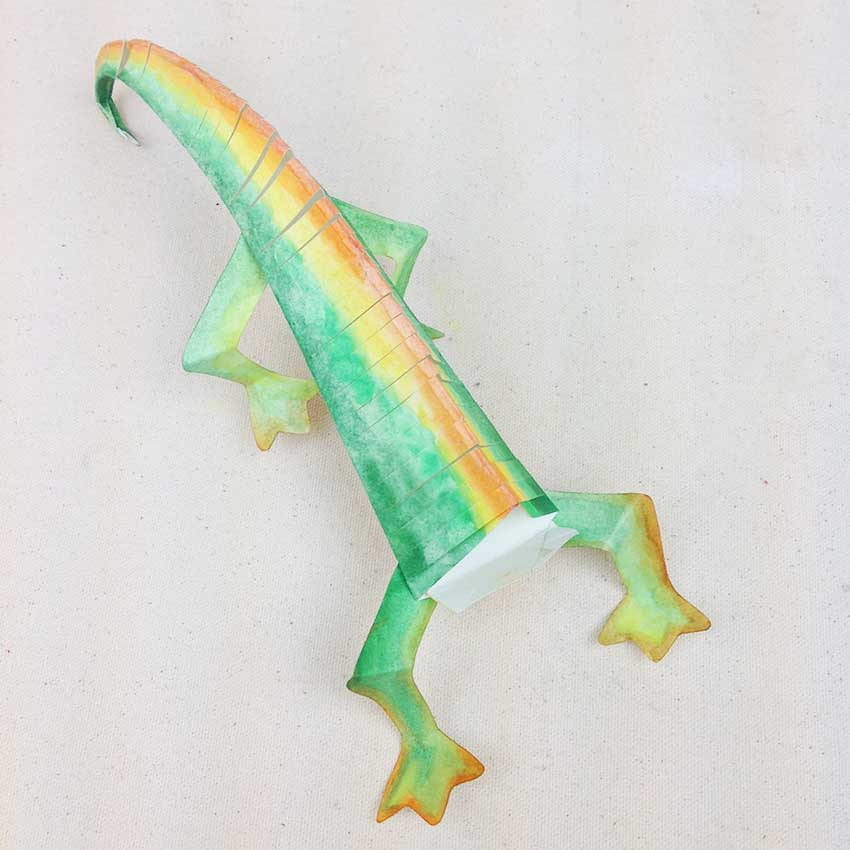
STEP 9
Attach the larger legs to the front of the lizards body and the smaller legs to the back. Then slightly bend each leg at the knee and again just before the foot.
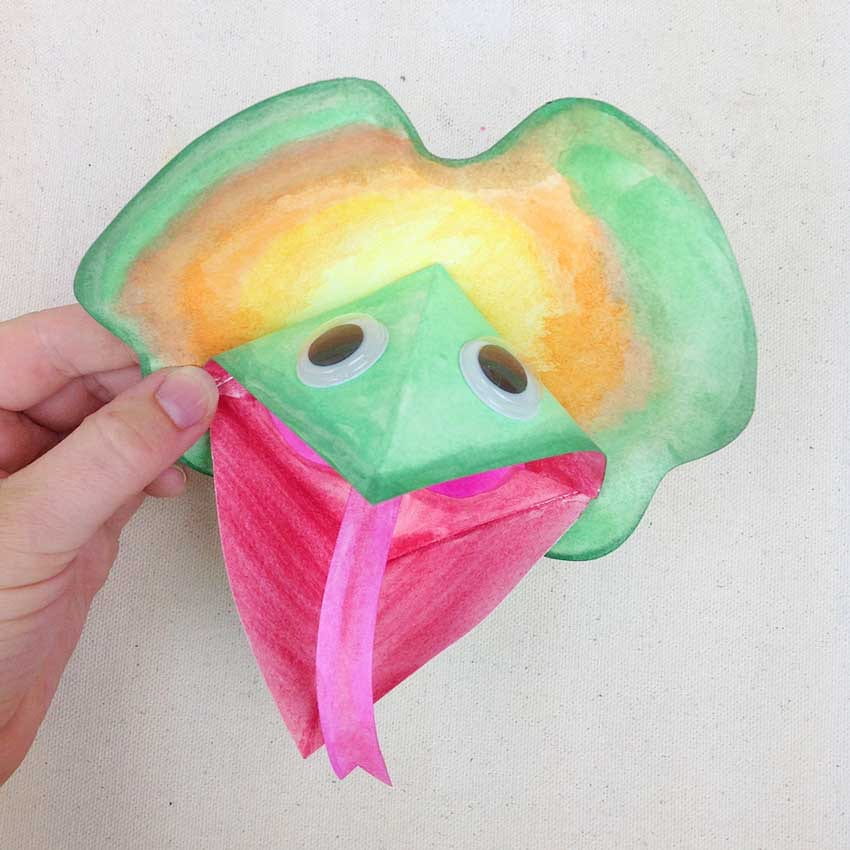
STEP 10
Use double sided tape to attach the two triangles from step 2 onto the frilled neck to create a mouth. Glue the tongue to the inside of the mouth and add some wiggle eyes. Attach the head of the lizard to the tab from step 8. Your frilled neck lizard is now ready!
I hope you enjoyed this activity and didn’t find it to challenging?
Now try to make another paper creation with Mr Maker this time making a paper dog! See how you go and please remember to SHARE!
When you have completed this beautiful piece of work please remember to share!
Remember GET CREATING!
Also, please stay tuned for yet another exciting sketchbook entry!
Looking forward to seeing last weeks entries too!
CONTACT DETAILS:
Teresa Velardi (Visual Art Teacher)
tvelardi@stgeorgepreca.catholic.edu,au