Year 5 Week 4 Visual Art Activity

Parents, just a quick message to let you know that this activity will require parental supervision. Also, please only use the resources that you may already have at home.
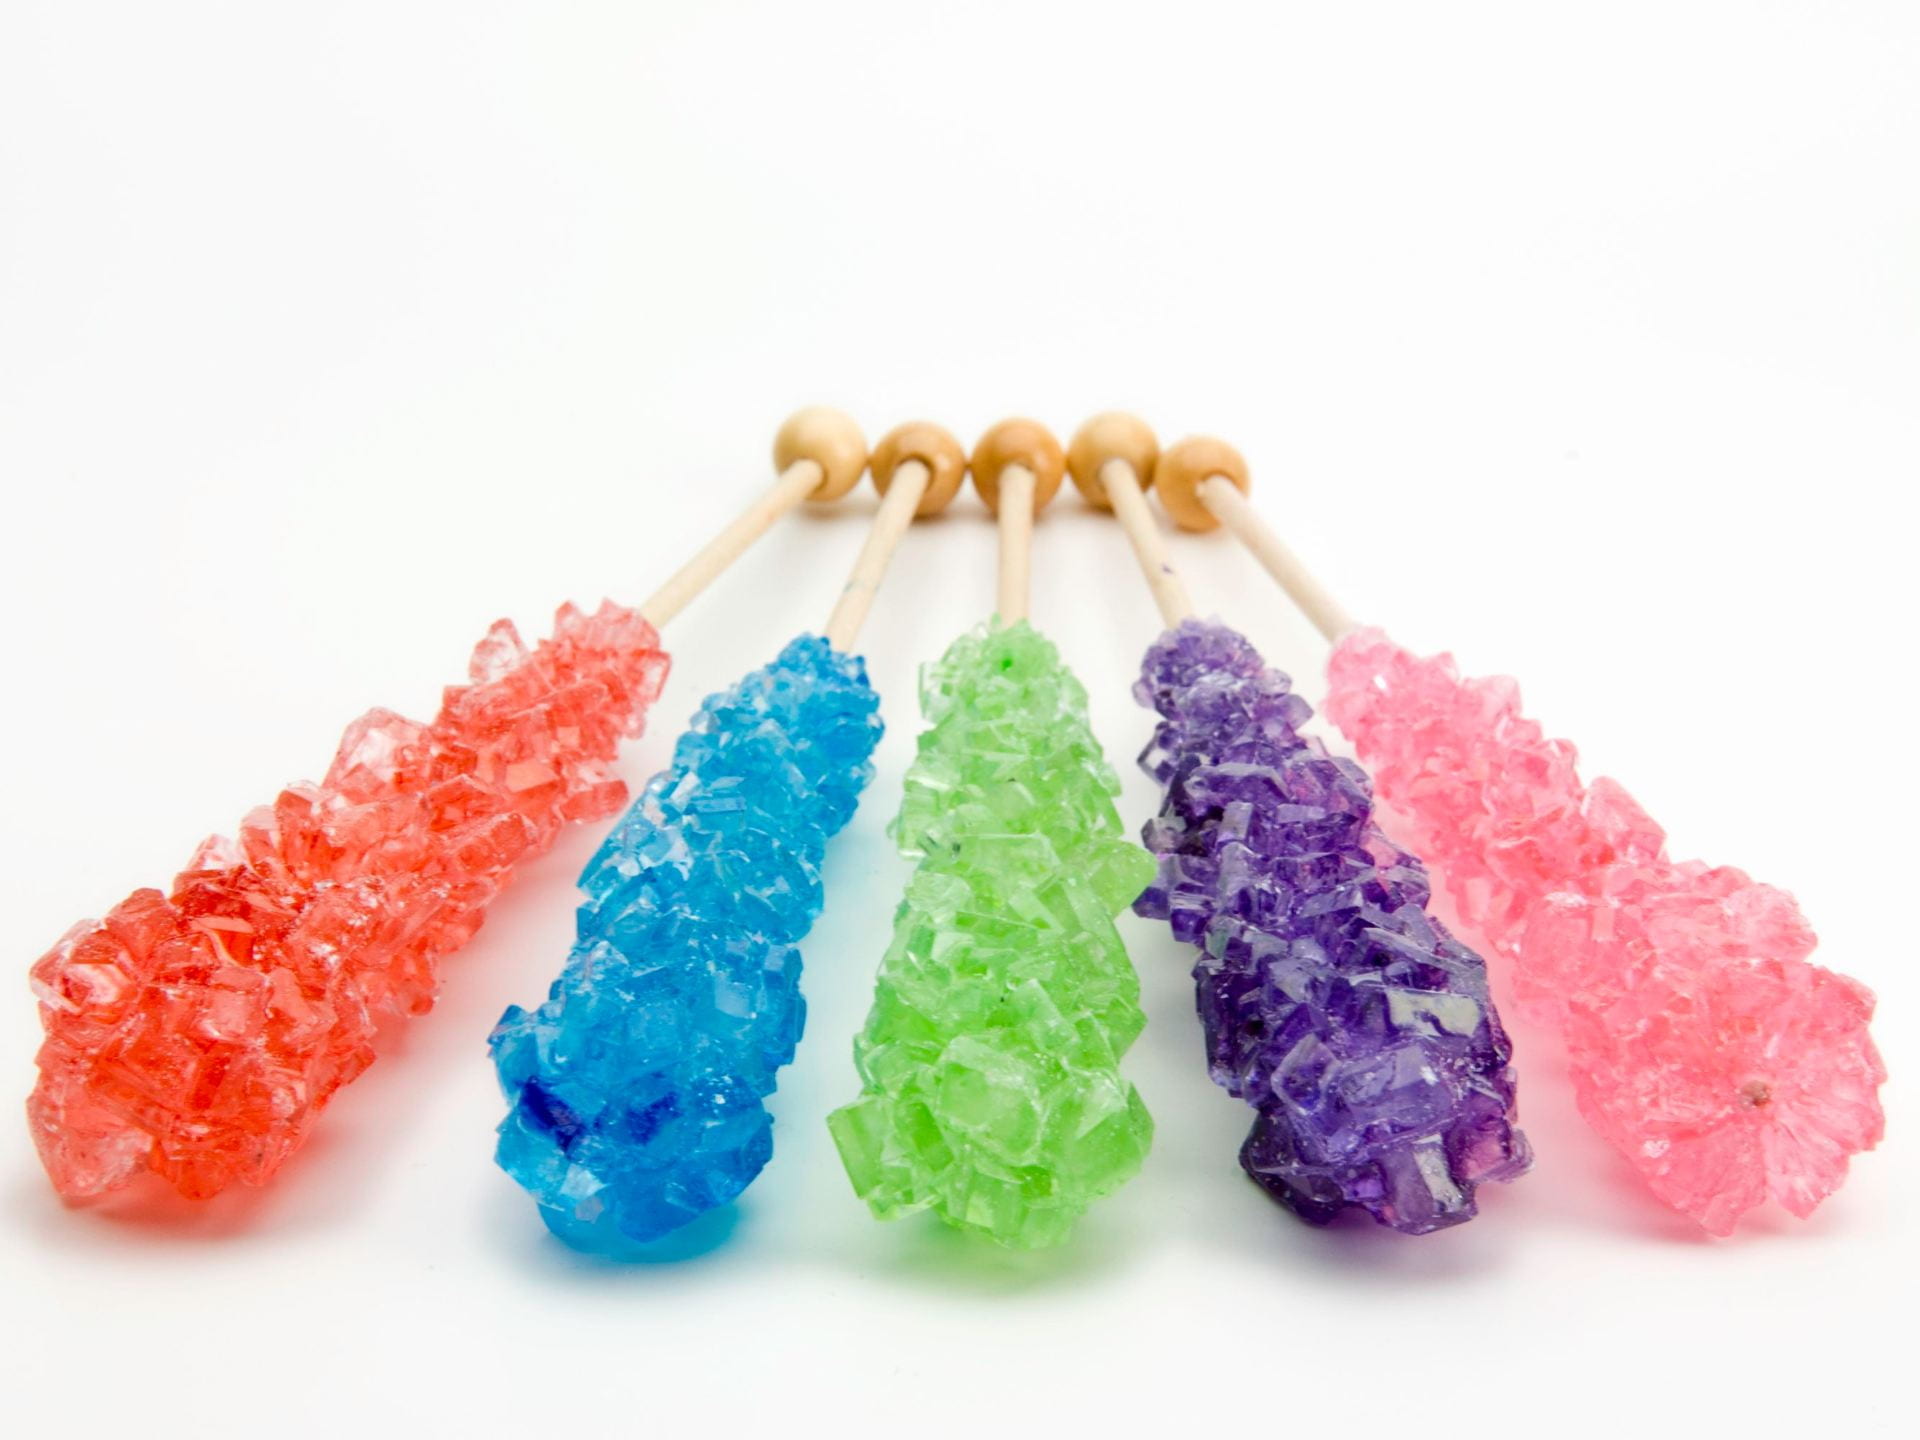
How to make Rock Candy Crystals
Learning Intention: To discover which types of sugars will be the quickest to form crystals.
Success Criteria: For students to be able to identify and explain why sugar is a main factor in the candy crystallizing.
Using just a few ingredients you can make rock candy at home. We are learning and playing with simple kitchen science experiments. Why kitchen science? because everything you need is already in your kitchen cupboards. There are so many cool experiments to do at home with everyday household items. This experiment is sure to develop a love for not only art but also learning through science. This is also an exciting science experiment that ends in a candy treat ENJOY! Have lots of fun kids and please remember to share your work with me via email and/or google doc. (This activity will not have an instantaneous effect it will take a couple of days to see a result). Please record your findings by note taking on a daily basis.
Homemade rock candy only requires a few ingredients.
You will need:
- Water – try to use filtered water.
- white granulated sugar – sugar is key. You can’t make rock candy without sugar.
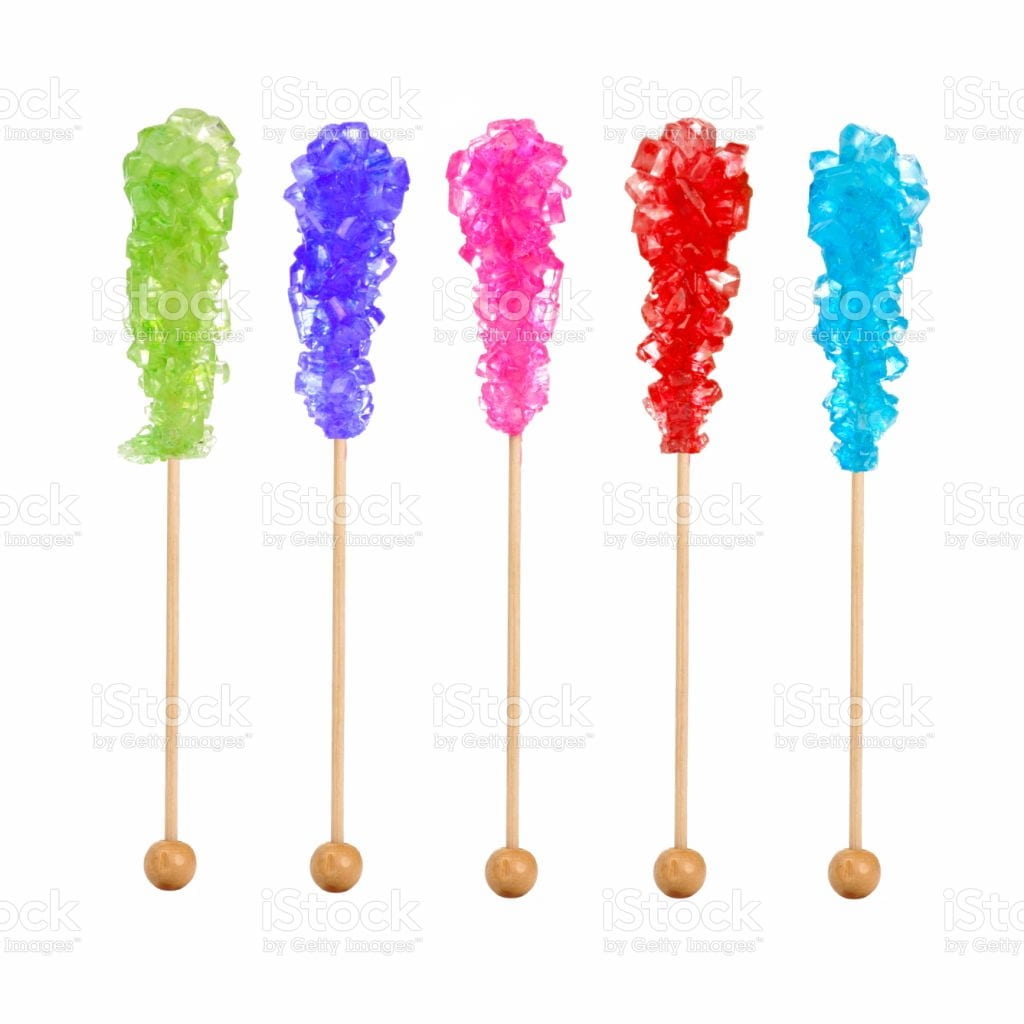
- food colouring – this is an optional ingredient. It is great for making all kinds of different colors.
- Flavouring there are a variety of flavourings that you can put in your rocky candy.
Materials:
- Pot
- Wooden spoon or spatula
- Lollipop sticks or bamboo skewers
- wide glass jars
- clothes pegs
1. To begin you will need something for the rock candy crystals to form on. Use a cake pop or lollipop stick. You can use a bamboo skewer as well.
2. Dip the stick in water and then roll it in a plate that has some white granulated sugar on it. Little sugar crystals will stick to the stick. These are called ‘seed crystals’. The other crystals will attach themselves to these. Once the sticks are coated allow them to dry for about 25 to 30 minutes.
3. Time to make the sugar solution. Take a medium saucepan add in the water. Place it on the stovetop and turn the heat to medium.
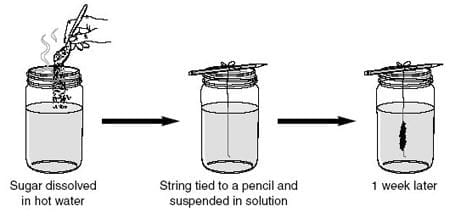
4. Once the water starts to simmer add in one of the cups of sugar. After that sugar dissolves add in another cup to repeat with the last cup of sugar. Stir the mixture and bring it to a boil.
4.Once the water starts to simmer add in one of the cups of sugar. After that sugar dissolves add in another cup and repeat with the last cup of sugar. Stir the mixture and bring it to a boil.
5.Time to make the sugar solution. Take a medium saucepan and add in the water. Place it on the stovetop and turn the heat to medium.
6.Once the water starts to simmer add in one of the cups of sugar. After that sugar dissolves add in another cup and repeat with the last cup of sugar. Stir the mixture and bring it to a boil.
7.Time to make the sugar solution. Take a medium saucepan and add in the water. Place it on the stovetop and turn the heat to medium.
8.Once the water starts to simmer add in one of the cups of sugar. After that sugar dissolves add in another cup and repeat with the last cup of sugar. Stir the mixture and bring it to a boil.
9.Next, you need some sort of container to put the solution in. The container shouldn’t be too narrow it needs to be wide enough to allow the crystals to form without sticking to the sides. Use a large jar for my rock candy (800 ml size). That, size jar will make one large rock candy. Or can can try it with smaller containers.
10.Use a funnel so it is easier to fill up the jar. Leave about an inch to an inch to two inches of space from the top. Add a circular ring to the top of the jar and then dip one of your sugar sticks in it and attach it with a skewer.

11.Make sure there is an inch and a half of space between the bottom of the jar/container and the stick. If you want to make a few different colors and flavors, don’t add the food coloring and flavoring while the solution is heating. You can add it to the individual jars instead.
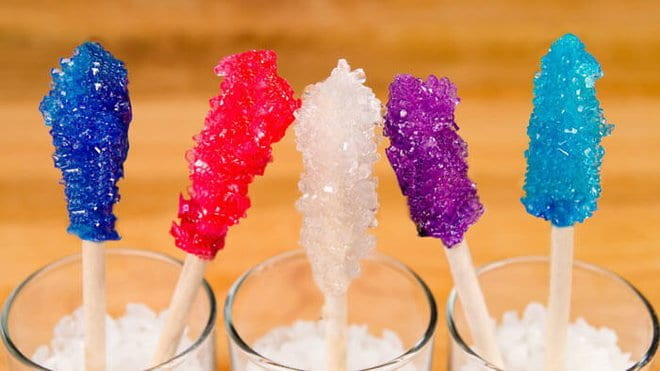
12.Now it is time to wait for those sugar crystals to develop. This will usually take 5 to 7 days for a good amount of crystals to form making that awesome rock candy.
13.After a few days, you will be able to see the progress of rock candy. Notice the film of sugar that has grown on the very top surface of the sugar solution, this is normal. Time to remove the candy from the solution.
14.Use a fork and gently break apart the thin layer of sugar crystals on the top. Pull the stick with the rock candy out of the solution and place it on another glass to dry.
15.This will allow any dripping sugar water to be contained. Let them dry for about 4 hours. The longer you allow them to sit in the water the larger the crystals will grow. they will look awesome?
16.Use a fork and gently break apart the thin layer of sugar crystals on the top. Pull the stick with the rock candy out of the solution and place it on another glass to dry.
17.This will allow any dripping sugar water to be contained. Let them dry for about 4 hours. The longer you allow them to sit in the water the larger the crystals will grow. They will look awesome?
After you have finished making your sugar rock candy make sure you enjoy! YUMMO!
Click the link below to view how to make your very own rock candy!
http://www.viewpure.com/HvKJz4M585c?start=0&end=0
Contact Details: Teresa Velardi (Art Teacher)
tvelardi@sgpreca.catholic.edu.au